
Download the setup files from website ( Click here to go to the website )
You have to download two zip files as show in below image.

Extract these files to one folder. You will get files which are shown in below image.

Double click on setup.exefile.
After this a command prompt window will open up which represents that the installation has started.

Skip this step by clicking NEXT if you don’t want to receive notifications from Oracle.
Enter the email address and uncheck the option for receiving updates.

Select first optionCREATE AND CONFIGURE A DATABASE and then click on NEXT.

Select first option DESKTOP CLASS if you are installing on your laptop or desktop. After that click on NEXT.

Oracle home User Selection:
You will get 3 options to select as:
- Use existing Windows User
- Create New User
- Use windows Built-in Account

After this step a pop window will open up click YES.

In this step you need to provide Global Database name.
NOTE: You need to provide administrative password also. Please note it down as it will be used later.
After filling the fields, Click Next

You will get this window.
Click on Install

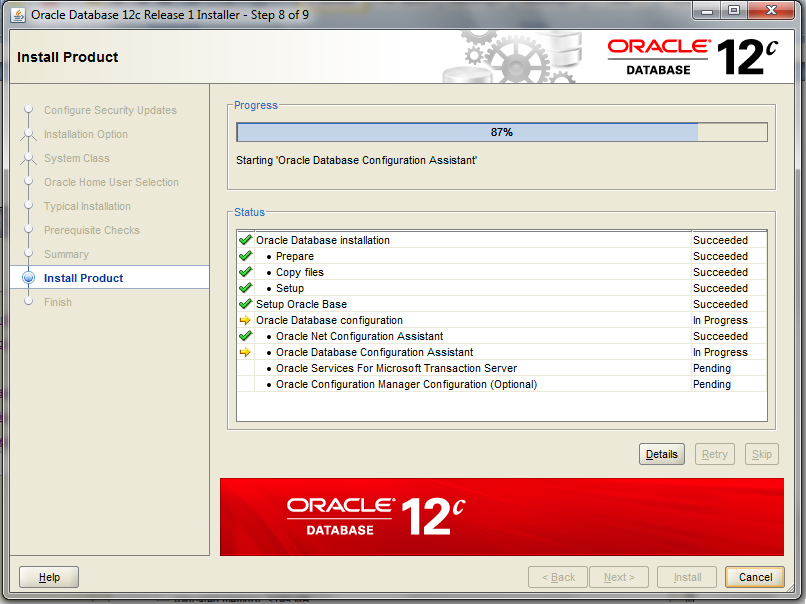
Installation will start.
after installation, Database configuration assistant window will open, where you can change the password / lock / unlock the database users.

After completing the installation, the window shown in below image will display on your screen.


